
There are two main requirements I look at when choosing homeschool curriculum. Most of the materials should be non-consumable so that I can reuse them. I also want actual books and materials instead of computer programs. BookShark meets both of those requirements perfectly. A downside, though, is how to organize and keep track of all those books! It certainly is overwhelming when first starting out but, after 5 years, I have a few tips and tricks to share to help you organize BookShark materials.

A BookShark Box Day Tradition
A big tradition with BookShark is Box Day. It’s like Christmas in the summer for homeschool families! A huge box (or 2) of books arrives on your door step. It’s exciting to open it open and see all the goodies what you’ll get to share with your kids in the coming school year. For this day, I let my kids take out and read any books they want…as long as they don’t go into their rooms. Those books may be lost forever in there! Once the day is over, I collect all the books and start the process of organizing everything.
We use two programs because our kids are almost exactly 3 years apart. That’s pushing the limits of combining them. With only two kids, it’s pretty easy to manage two programs. However, that means I have twice as many BookShark materials to organize.
Organize the BookShark Binder
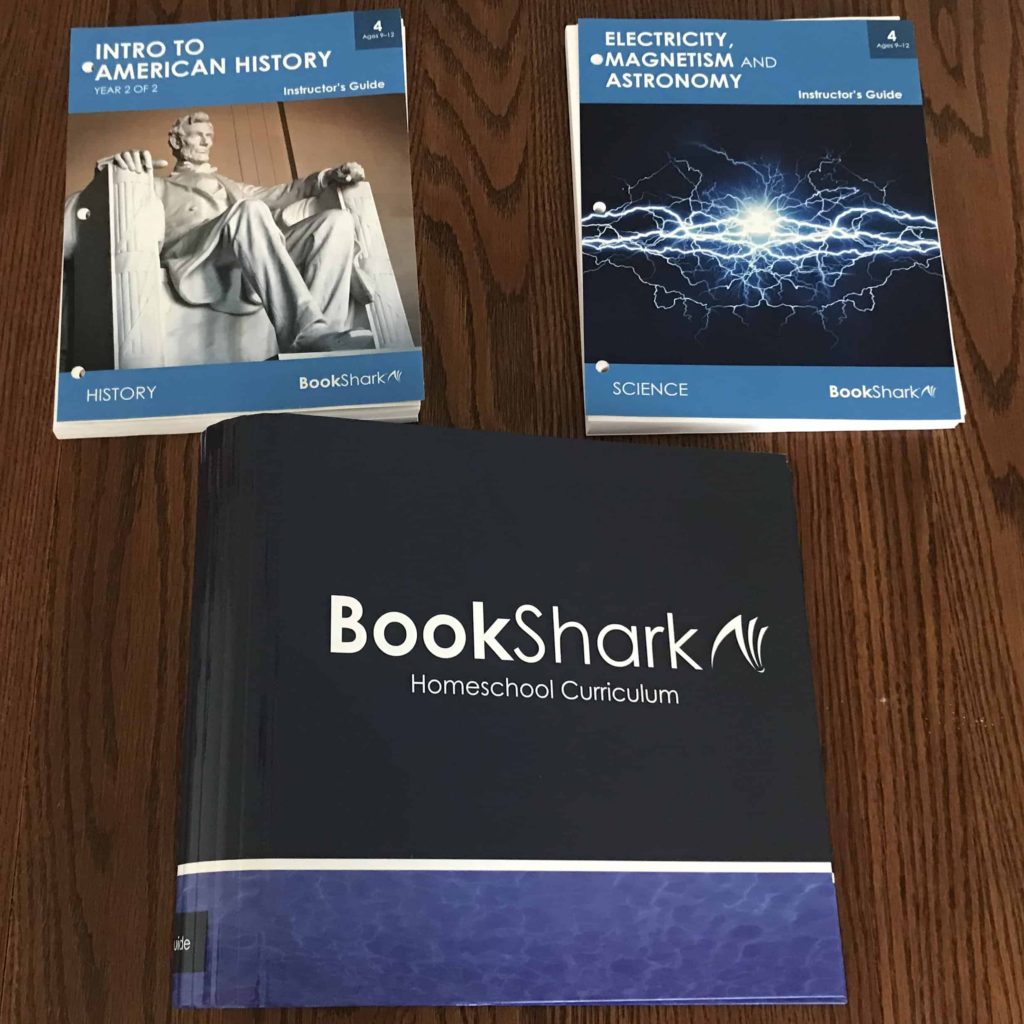
The first step is to set up your BookShark binder. This is an extra heavy duty binder that will last for many years. I don’t recommend skipping the binder. You’ll just end up replacing a cheap binder every year. The BookShark binder comes with tabs for the different sections in the Instructor’s Guides and 36 tabs to keep the weekly schedules separated. I recommend having a binder for each level that you’re using if you’re using more than one subject.
Each Instructor’s Guide has 4 sections. The first is an Introduction with a Quick Start Guide. Then come the weekly schedules. Section 3 has additional information such as a book list, timeline notes, blank schedule pages and more. Finally, section 4 has new user tips. Take the time to read through these sections before the year starts so that you’re familiar with how to use the program.
Set out the binder on a table with each Instructor Guide in its own space. Decide in which order you want the guides. I like history, readers (if a separate IG), science, and language arts but just make sure you stick to the same order for all of the weeks. Put section 1 of each guide in the beginning of the binder. Take week 1 of each Instructor Guide and put it behind the tab for week 1. Do the same for all 36 weeks keeping the same order throughout the year. (The worksheets for science are in the IG but I like to separate them and put them in a small binder for my child to use.) Put sections 3 and 4 of each Guide behind the corresponding tabs. Your BookShark binder is now complete.
I like to keep a smaller working binder since the BookShark binder is too big to carry around the house every day. I use a foldable binder called a Flex NoteBinder. It’s a 1″ binder that folds like a spiral notebook. I keep 4-6 weeks of the weekly schedule for each kid in this working binder at a time. The NoteBinder comes with dividers that I use to separate each child’s schedule pages. I keep the numbered weekly tabs in place when I transfer the pages between these two binders so everything stays together.
Organize the Timeline Figures
I like to organize the timeline figures at the beginning of the year so we’re not searching for them everyday. There’s a symbol on the schedule page each time a timeline figure is used. Look under that day’s notes to find which figure and paper clip it to that week. I flip through each week in this manner. In section three of the IG, you’ll find a list of every timeline event or person used throughout the year sorted by book. The timeline figures mostly appear in the history IG but sometimes they’re used with the readers so be sure to check that IG if that’ separate from the history IG for the level you’re using.
The Wall Map
BookShark’s map is double sided with the world map on one side and the United States map on the other. I have a map for each child but it would be possible to just have one family map. My oldest child’s map hangs in our homeschool area. My youngest’s map is folded up and kept on a bookshelf but she wants to hang it in her room this year. I hang them up using push pins and binder clips. Stick two push pins in the wall as wide as the map. Attached a binder clip to each end of the map and hang it on the push pins. Now you can easily turn the map to access both sides.
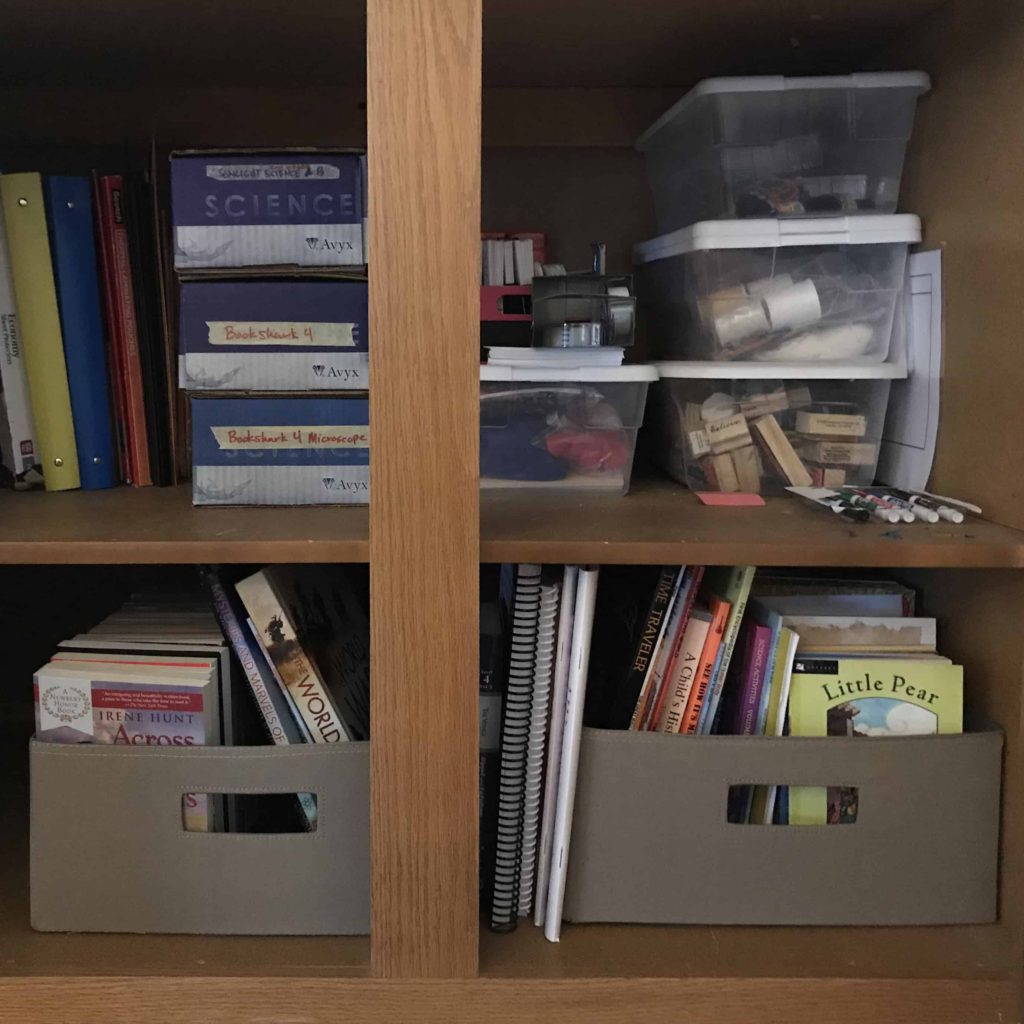
2 levels of BookShark History and Science, each in it’s own container.
Organize BookShark Books
I have a cabinet space that I use for holding all of the year’s books from BookShark and any other programs we use. Everything is sorted by kid and subject. In section 3 of the BookShark’s Instructor Guides, you’ll find a list of which week each book first appears in the IG. I use this to line up the books in the order in which we’ll use them. This shelf doesn’t have to be tidy with each book facing out. I’ve used crates and small boxes to cram them into a tight space but I do like to keep them in order so I don’t have to search through everything for the next book. Because these books don’t need to be accessed everyday, the space in which you store them doesn’t need to be that convenient if you don’t have space in your homeschool area.
I take out the first 4-6 weeks of books for all of the subjects and put them on a smaller shelf in our homeschool area. These are the books that I need to be able to find quickly. I match up the books needed for the weeks that are in my working binder. When I switch out those schedule weeks, I switch out the books on this small shelf. If you don’t have a dedicated homeschool area, you can keep these books in a small basket near where you expect to read them. We use many of our BookShark books during our Morning Basket time, so I like to keep those books in our basket by our couch.
Related Post – Morning Basket Tips to Get Started
That’s it! Even though it may look overwhelming when you open your box, it really is quite easy to organize BookShark books and schedules. The big binder will hold all of the guides and schedules. Use the small NoteBinder to hold a few weeks at a time. Store the books in the order in which you’ll need them and just set out a few books at a time so that they’re easily accessible. Paperclip the timeline figures to their correct weeks so you don’t have to hunt for them every week. Now, you are all set to enjoy a deep dive into history, science, and language arts fun for your homeschool.

[…] assembling the BookShark binder, cut apart the timeline figures and paperclip them to the Instructor Guide weeks that they’ll be […]