
I started growing in containers during a brief 2 year stay in a tiny apartment in a Los Angeles suburb. We had moved there from a rural town where we had 2 1/2 acres, so the move was a bit shock. Luckily, we had 2 decent sized balconies with good sun exposure and I filled them with gardening containers. One of the first containers I tried was the Eartbox because of how efficiently it uses space. I still use them even though I now have plenty of room for a regular garden. Over the years, I made some changes in how I plant an Earthbox. These little tweaks have really improved how they perform for me.
Now, I live in the desert southwest in a large city where most of the houses have tiny backyards. Our “soil” is garbage, so most people build raised beds with imported soil. Container gardening is also very popular here because they are so versatile. They’re perfect for those living in apartments or rental houses. They are also convenient for those with tiny yards because they can be easily moved as the sun exposure changes with the seasons.
Earthboxes come with detailed instructions on how to use them. However, these changes I’ve made in how to plant an Earthbox have resulted in healthier plants and more nutrient dense food to harvest.

What is an Earthbox?
It is a large rectangle container that is used to grow plants using high density spacing. This is fantastic for people with small garden areas. It uses a wicking system to bring water into the planting media from the water reservoir in the bottom of the container. This helps keep the moisture level consistent. It comes with reversible black and white plastic mulch covers to prevent the planting media from drying out. This helps to conserve water.
How to Plant an Earthbox
Add Planting Media
The company has a very specific recommendation for what planting media to use. I followed that recommendation the first 2 years, but once we moved I couldn’t find any suitable products. I opted to use regular potting soil and it worked so well that I never bothered finding a recommended product. The main component of these recommended products is peat moss…around 70-95% of the total volume of planting media. Peat moss is naturally antimicrobial which is the LAST thing you want in a garden. We want to create an environment where beneficial microbes thrive! I do my best to avoid it.
Therefor, I use regular potting soil when I first fill an Earthbox. I mix in compost to the remaining potting soil when I replant an Earthbox. You can keep reusing the potting soil, but just refresh it with compost. I also leave many of the roots from the old plants in the soil when replanting. These will add organic matter and nutrients as they decompose. With large plants such as tomatoes, the roots will be so packed in there that you can’t replant in that mess. Remove everything (roots and soil) and put it off to the side in a large storage container. I keep it moist for a season and the roots decompose enough that I can fluff it up and use it in another Earthbox. You can also just put it in your compost pile.
You’ll need 2 cubic feet of potting soil per Earthbox. Fill it up to 2″ below the rim. As you fill it, pack down the corners that extend below the mesh screen. These corners wick up the water from the reservoir. The instructions call for adding dolomite lime which contains calcium and magnesium. This helps prevent blossom end rot, which can happen with tomatoes and peppers, and it raises the Ph level. I only use it when planting tomatoes and peppers. If you’re going to use it, mix 1lb into the top few inches. Continue filling the Earthbox to the top with potting soil.

Earthbox with fertilizer trough
Add Fertilizer
Create a 2″ deep trough. The placement of the trough depends on what you’re growing. You can find the planting and fertilizer strip chart here. The company also has a list of recommended fertilizers but this list is very short. I am very biased towards organic fertilizers so I use an all-purpose organic fertilizer such as Down to Earth’s All Purpose. Spread 3 cups of organic fertilizer in the trough.
The plants will use up this fertilizer before the growing season is over especially when growing something that produces all season. You can replenish the fertilizer in this trough but it is quite the hassle with larger plants. Instead, I use a water soluable fertilizer later in the season. You can add it to the water reservoir or water the soil from the top. I like to use water soluble kelp, fish hydrolysate and a microbial inoculant such as EM1.

Earthbox with plastic mulch cover
Add Plastic Mulch
After the fertilizer strip is finished, add enough potting soil to create a mound that extends 4-6″ above the Earthbox. Packing this area down will help prevent the soil from falling out when planting. Add the plastic mulch cover. Place the black side up if you’re planting for the cool season and white side up for planting in the warm season. They also have red mulch covers available for tomatoes and strawberries but the black/white ones work fine for them too.
Now, I HATE the idea of using plastic mulch in my garden. I do like how it helps regulate temperature of the soil and conserves water but I HATE plastic mulches. I’ve seen them break apart and get mixed into the soil in regular gardens. I haven’t had that happen with the Earthbox covers, so sometimes I use them and sometimes I don’t. But I would never use plastic mulch in a regular garden.
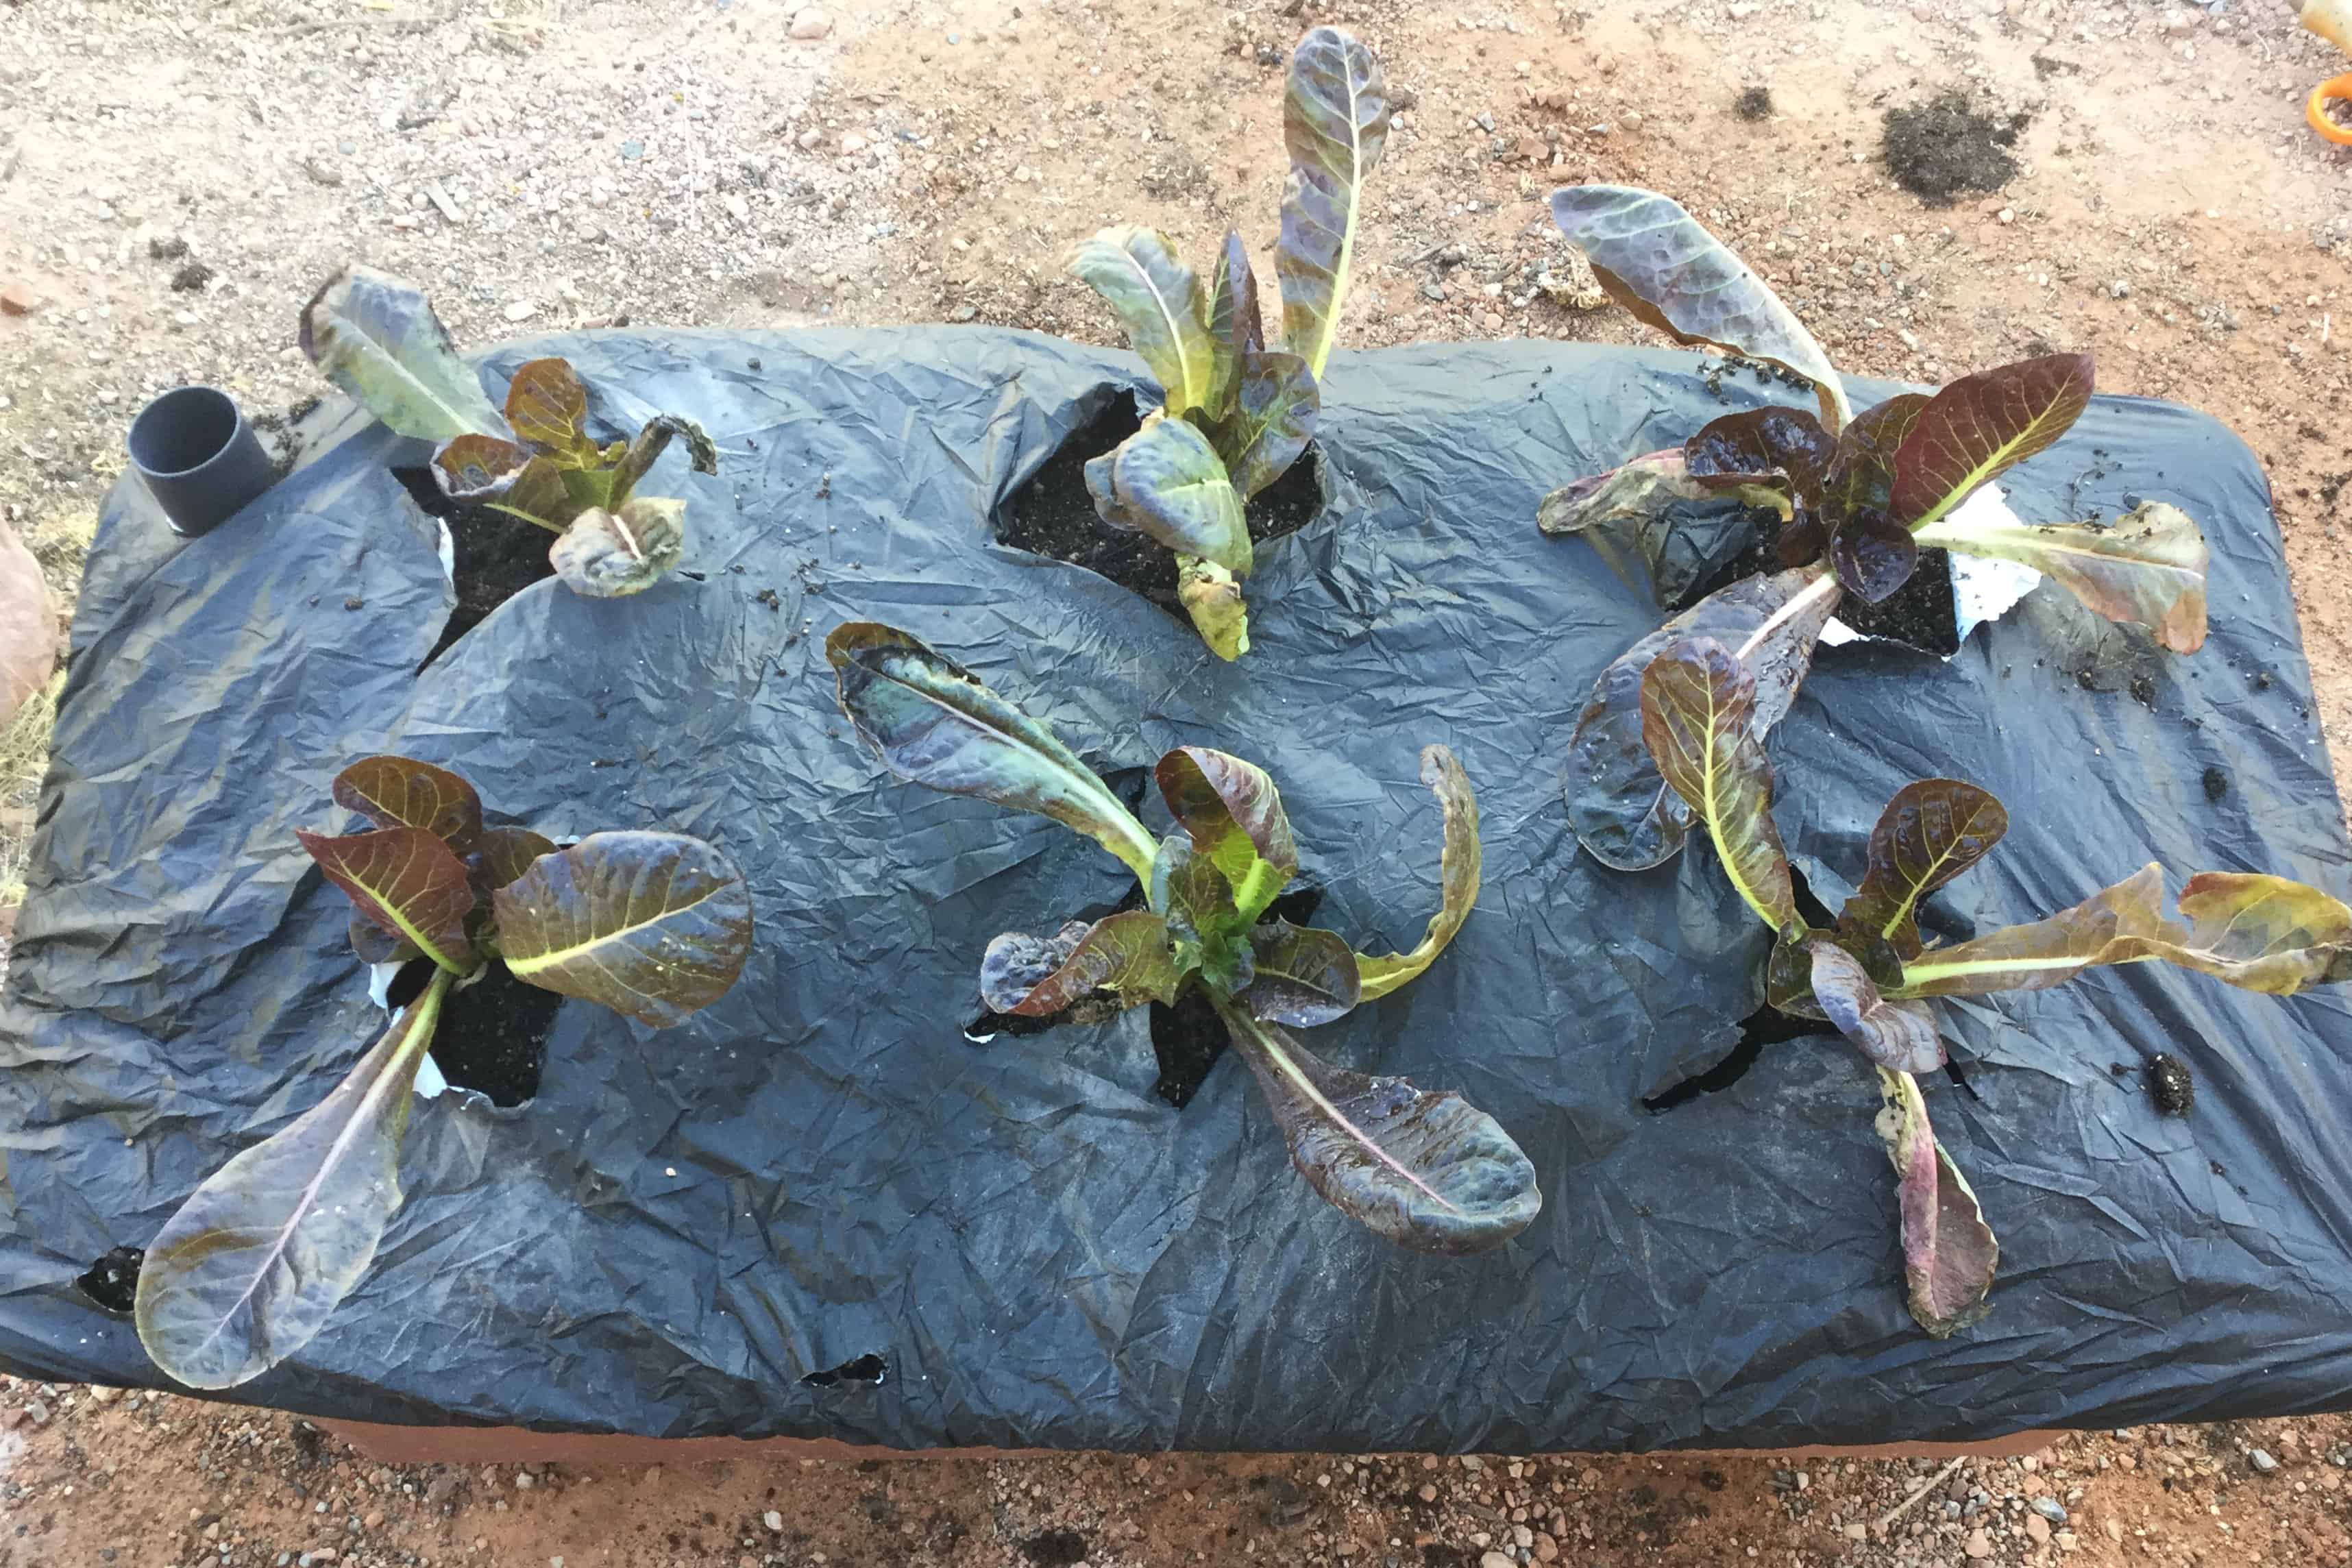
Earthbox planted with lettuce
Plant an Earthbox
How many plants and where to put them depends on what you’re growing. I recommend only mixing similar plants. Don’t try to grow a tomato and lettuce in the same Earthbox. You can find the planting guide here. Based on my experience, I recommend reducing the amount of plants by one. I love high density planting but I think they try to cram in a little too much. I’ve had the best results for all the crops I’ve grown when I planted one less than their recommended number.
Once you decide how many to plant, check their spacing recommendations and alter it a bit to accommodate the number of plants. Cut an X shape in the plastic mulch for each plant using a pair of scissors. Gently dig the holes for each plant being careful not to knock chunks of soil off the mound. When planting closing spaced plants, it’s helpful to only prepare one hole at a time.
I like to add a few more goodies when planting an Earthbox. I want to build a microbial rich soil to grow nutrient dense food. This is why I avoid peat moss and use compost. Both of these go against Earthbox’s recommendations but I firmly believe they are absolutely necessary to grow healthy food. In the planting hole, I mix in a handful of worm castings (worm compost) and either Azomite or Greensand. I also sprinkle endomycorrizal fungi on the roots of the transplants. Once all the plants are in, I water from the top with a water soluble kelp. I continue to water with it once a week for a few weeks.

Watering an Earthbox
The Earthbox has a tube that sits in the water reservoir and sticks out of the mulch cover. Add water to this tube until you see water draining out of the bottom. I also like to water the soil from the top for the first week or so to make sure the soil is evenly wet. I’ve had troubles with transplants drying out soon after planting because the top area has dried out before the water is wicked into that area.
I have a drip irrigation system already in place for my regular garden beds, so I add an extra 1/4″ tubing line with an emitter on the end and stick it down the tube. This is handy if you head out of town for more than a couple of days. The water reservoir is large but still needs to be filled regularly especially if you’re growing plants that need a lot of water such as tomatoes or melons.
I’ve also found that too much water can make the soil in the bottom of the container far too soggy which can lead to anaerobic conditions. A few times during the season, I let the water run out completely and let the soil dry a bit before refilling the reservoir.
Even though I don’t need to use containers for gardening anymore, I still love using the Earthbox. I usually have all 4 of them filled all year. This is a fantastic system for those to want to make the most of small gardening spaces. They’re also great for moving around as the sun exposure changes with the seasons. These tweaks I’ve made in how I plant an Earthbox have really helped maximize my harvest quantity and quality.
More Gardening Fun
How to Grow Tomatoes from Seed
One Simple Trick to Grow lots of Melons
[…] Relate post – How to Plant an Earthbox Garden Container […]